前言
由于我的博客是使用hexo部署的静态博客, 所以每次写博客的时候很长一段时间都要手动ssh到服务器自己去部署。所以就找到了github webhooks这个方法。其实本质很简单, 在设置的时候首先会发送一个ping的http请求到你配置的url上, 这个时候你只需要响应一个204即可
等到你配置的事件触发hooks之后, 会发送请求到你的服务器上, 这个判断的字段是请求头里面的X-GitHub-Event字段(注意,请求头key会变成小写哦)
找了一下社区, 没有非常符合我要求的包, 看了一下实现源码, 发现并不复杂, 就自己实现了一遍, 搭配我的nestjs
实现
我是使用的nest, 以下的代码除了个别装饰器之外, 其他的都是框架无关的
controller
首先是实现一个controller,如果是express或者koa, 这里就是一个路由中间件
1
2
3
4
5
6
7
8
9
10
11
12
13
14
15
16
17
18
19
20
21
22
23
24
25
26
27
28
29
30
31
32
33
| @Post('/')
handlerWebHooks(@Req() req, @Response() res) {
const { headers } = req;
const delivery = headers['x-github-delivery'];
const signature = headers['x-hub-signature'];
const event = headers['x-github-event'];
const ua = headers['user-agent'];
const { repository } = req.body;
if (event === 'ping') {
res.status(204);
res.end();
return;
}
if (!delivery || !signature || !event || !ua.includes('GitHub-Hookshot')) {
return this.handlerError(res, 'not Auth');
}
console.log('start verify');
if (!this.verify(SECRET, req.body, signature)) {
console.log('verify error');
return this.handlerError(res, 'not Auth');
}
console.log('verify success');
if (event === 'push') {
console.log('before deploy');
this.deploy(repository.name);
}
res.status(204);
res.end();
}
|
verity
校验参数
1
2
3
4
5
6
7
8
9
10
11
12
13
14
15
16
|
public verify(secret: string, payload: object | string, signature: string) {
const data = typeof payload === 'string' ? payload : JSON.stringify(payload);
const signatureBuffer = Buffer.from(signature);
const verifyBuffer = Buffer.from(`sha1=${this.sign(data, secret)}`);
if (signatureBuffer.length !== verifyBuffer.length) {
return false;
}
return timingSafeEqual(signatureBuffer, verifyBuffer);
}
public sign( data: string, secret: string) {
return createHmac('sha1', secret).update(data).digest('hex');
}
|
unit test
这里只做了签名方法的单测, 用于不用实际发请求就可以试一下对错
1
2
3
4
5
6
7
8
9
10
11
12
13
14
15
| it('test sign', () => {
const payload = {
foo: 'bar',
};
const signRes = controller.sign(JSON.stringify(payload), 'mysecret');
expect(signRes).toBe('d03207e4b030cf234e3447bac4d93add4c6643d8');
});
it ('test verify', () => {
const payload = {
foo: 'bar',
};
expect(controller.verify('mysecret', payload, 'sha1=d03207e4b030cf234e3447bac4d93add4c6643d8')).toBe(true);
});
|
deploy
部署的话, 这里我遇到了一个小坑, 我还是对Linux不是很熟悉,不能直接sh /path/to/deploy.sh, 必须先cd到项目所在目录,再执行sh才可以, 这里贴一下deploy我的实现
1
2
3
4
5
6
7
8
9
10
11
12
13
14
15
16
17
18
19
20
21
22
23
24
25
26
27
28
29
30
31
32
33
34
35
36
| private deployBlog() {
const { shellDir, shellFile } = BLOG_DEPLOY;
this.runCmd('sh', [shellFile], shellDir)
.then(() => console.log('部署博客成功'))
.catch((e) => console.log('部署博客失败', e.toString()));
}
public runCmd(cmd: string, args: string[], pwd?: string) {
return new Promise((resolve, reject) => {
console.log(cmd, ...args, pwd);
if (pwd) {
process.chdir(pwd);
}
const shell = spawn(cmd, args, {
stdio: 'inherit',
shell: true,
});
shell.stdout.on('data', (e) => console.log(e.toString()));
shell.stderr.on('data', (e) => console.error(e.toString()));
shell.on('close', (code) => {
if (code !== 0) {
console.error(`${cmd} ${args} error, code: ${code}`);
reject(code);
return;
}
resolve(code);
});
});
}
|
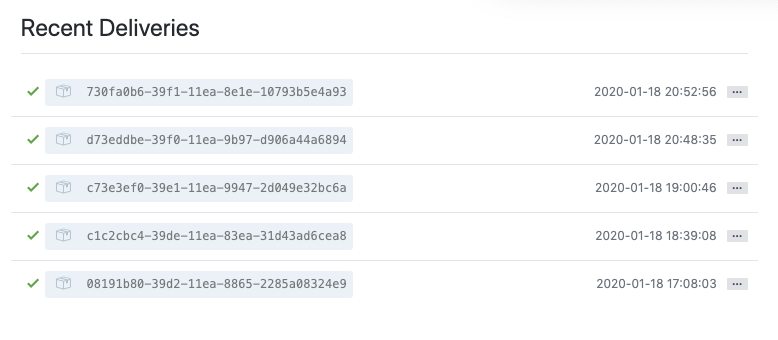
结果
写在最后
其实实现不复杂, 但是还是不得不吐槽一下网上到处都是复制粘贴的文章, 不注意的话很容易掉进坑